
{*EDITED BELOW*}
When I first saw these on Martha’s site years ago, I cataloged them in the back of my mind to make them someday. I’ve made them for baby showers, a Twilight party, birthday parties and used them for cheap and adorable fall decor.
So, like I mentioned before, I made this beauty for only $2.00 using only half of the pom pom! It might cost you a little more if you don’t already have the other supplies.
Here is the scoop…
Tissue Paper Flower Wreath
Supplies you will need:
2 pkgs (9 sheets each) tissue paper
Scissors
Embroidery floss or thin yarn
Hot glue gun
Glue sticks
large cardboard box
1. Using a large bowl or something round, trace a circle onto your cardboard box. (That’s when all of those diaper boxes come in handy!) Then use a smaller circle to create the inside. Mine measures about 15″diameter and about 6 1/2″diameter in the center.
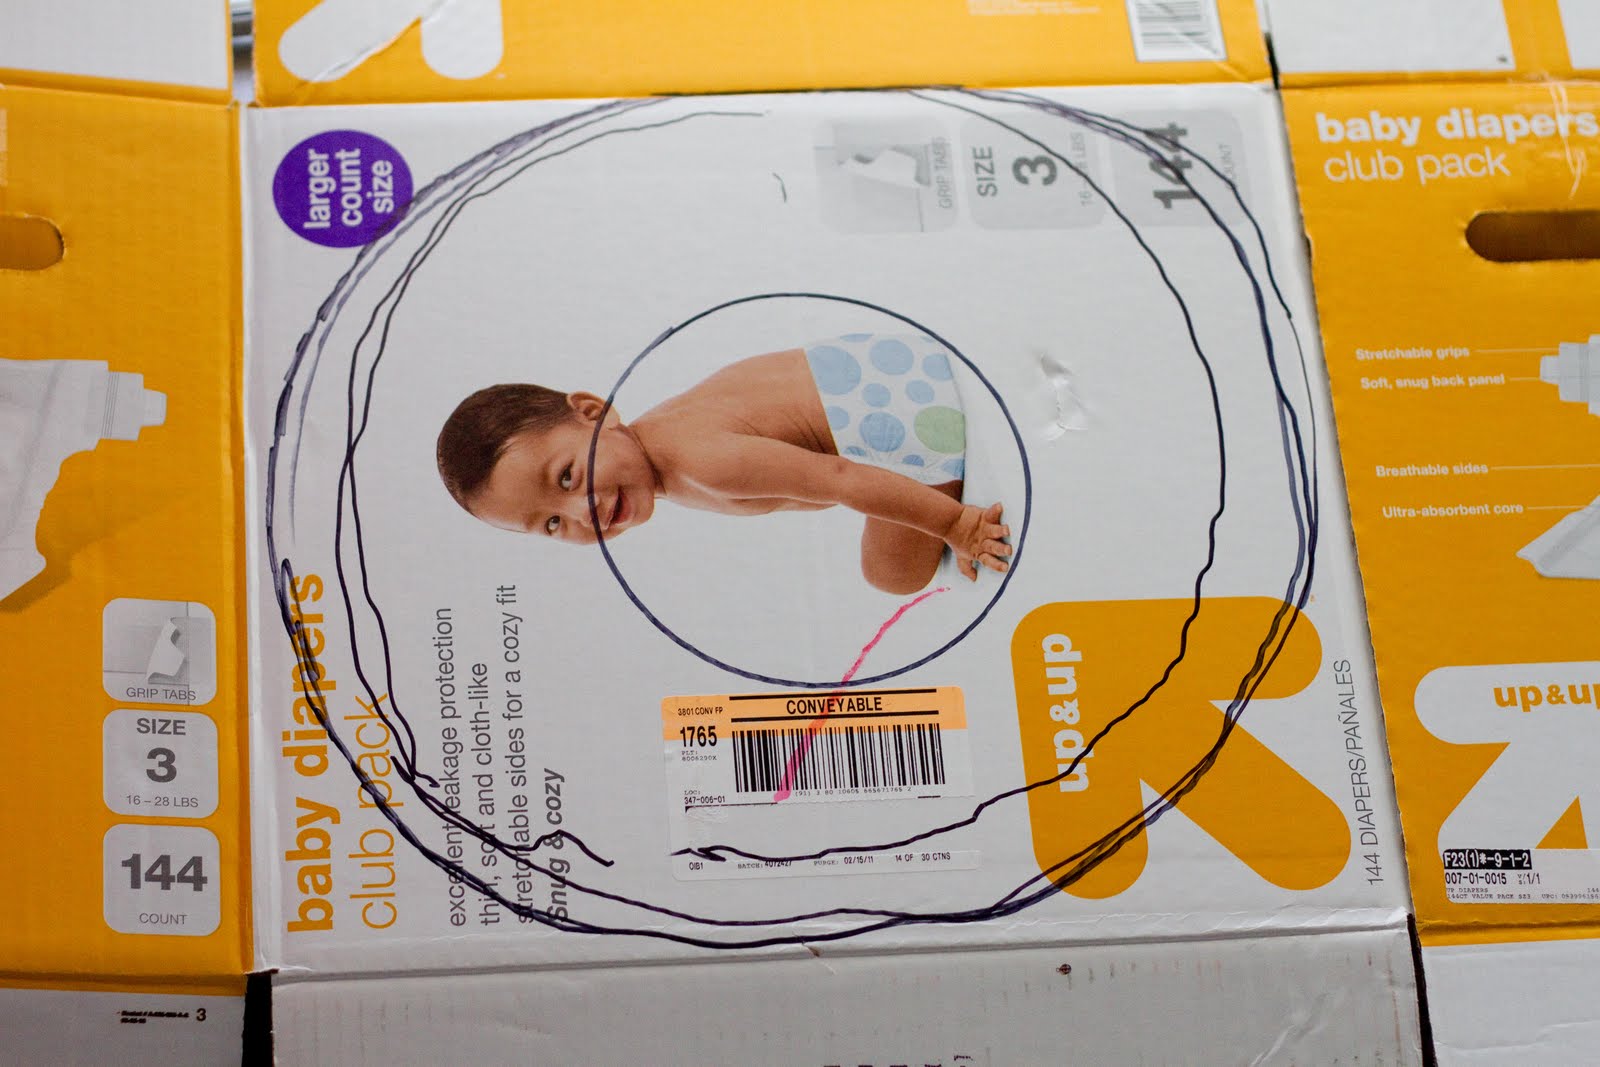 Um, as you can see I didn’t trace my outside circle, but attempted to freehand it…good luck at that! Luckily the flowers will hide it
2. Cut out your “wreath”.
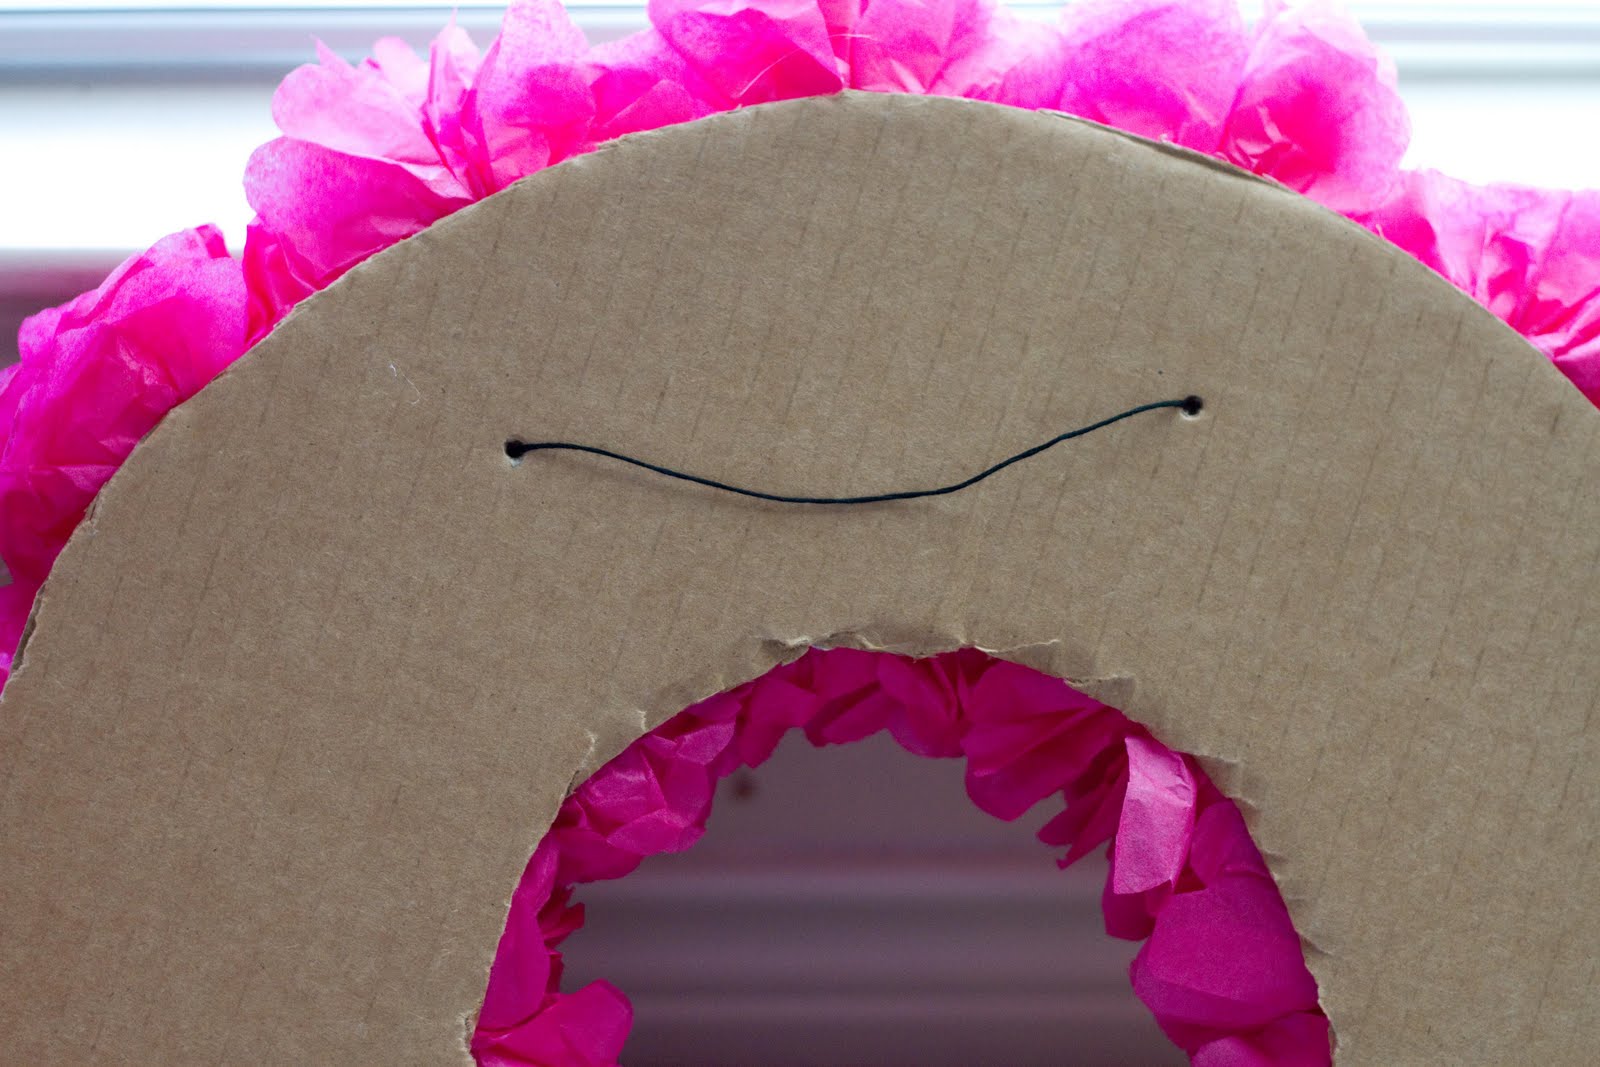
3. Poke two holes about 6 inches apart and thread through about 9 inches of floss through the back side of your wreath. Glue the ends down on the other side with hot glue. You will want to leave a little slack for easy hanging. (I forgot to take a picture of this part so I took one after the project was done.)

4. Open and unfold 1 package of tissue paper.

5. Remove one sheet of tissue paper and *set it aside. Now you should have 8 full sheets of tissue paper.
6. Cut the stack of tissue paper into 16 smaller rectangles. Don’t use the fold lines as your guide because you want all of your flowers to be as uniform in size as possible. Basically you are cutting the large rectangle in half, then each of those in half and so on.
7. *With the full extra sheet I had you set aside, cut it the exact same way. Then you will stack up 8 small rectangles to make a pile. You will end up with two from the single sheet. At this point you will end up with 18 stacks.
8. With the short side of the rectangle facing you, make 1/2 inch accordion folds, creasing each fold. (Sorry, I didn’t get a picture of this step so reference here if you need it.)
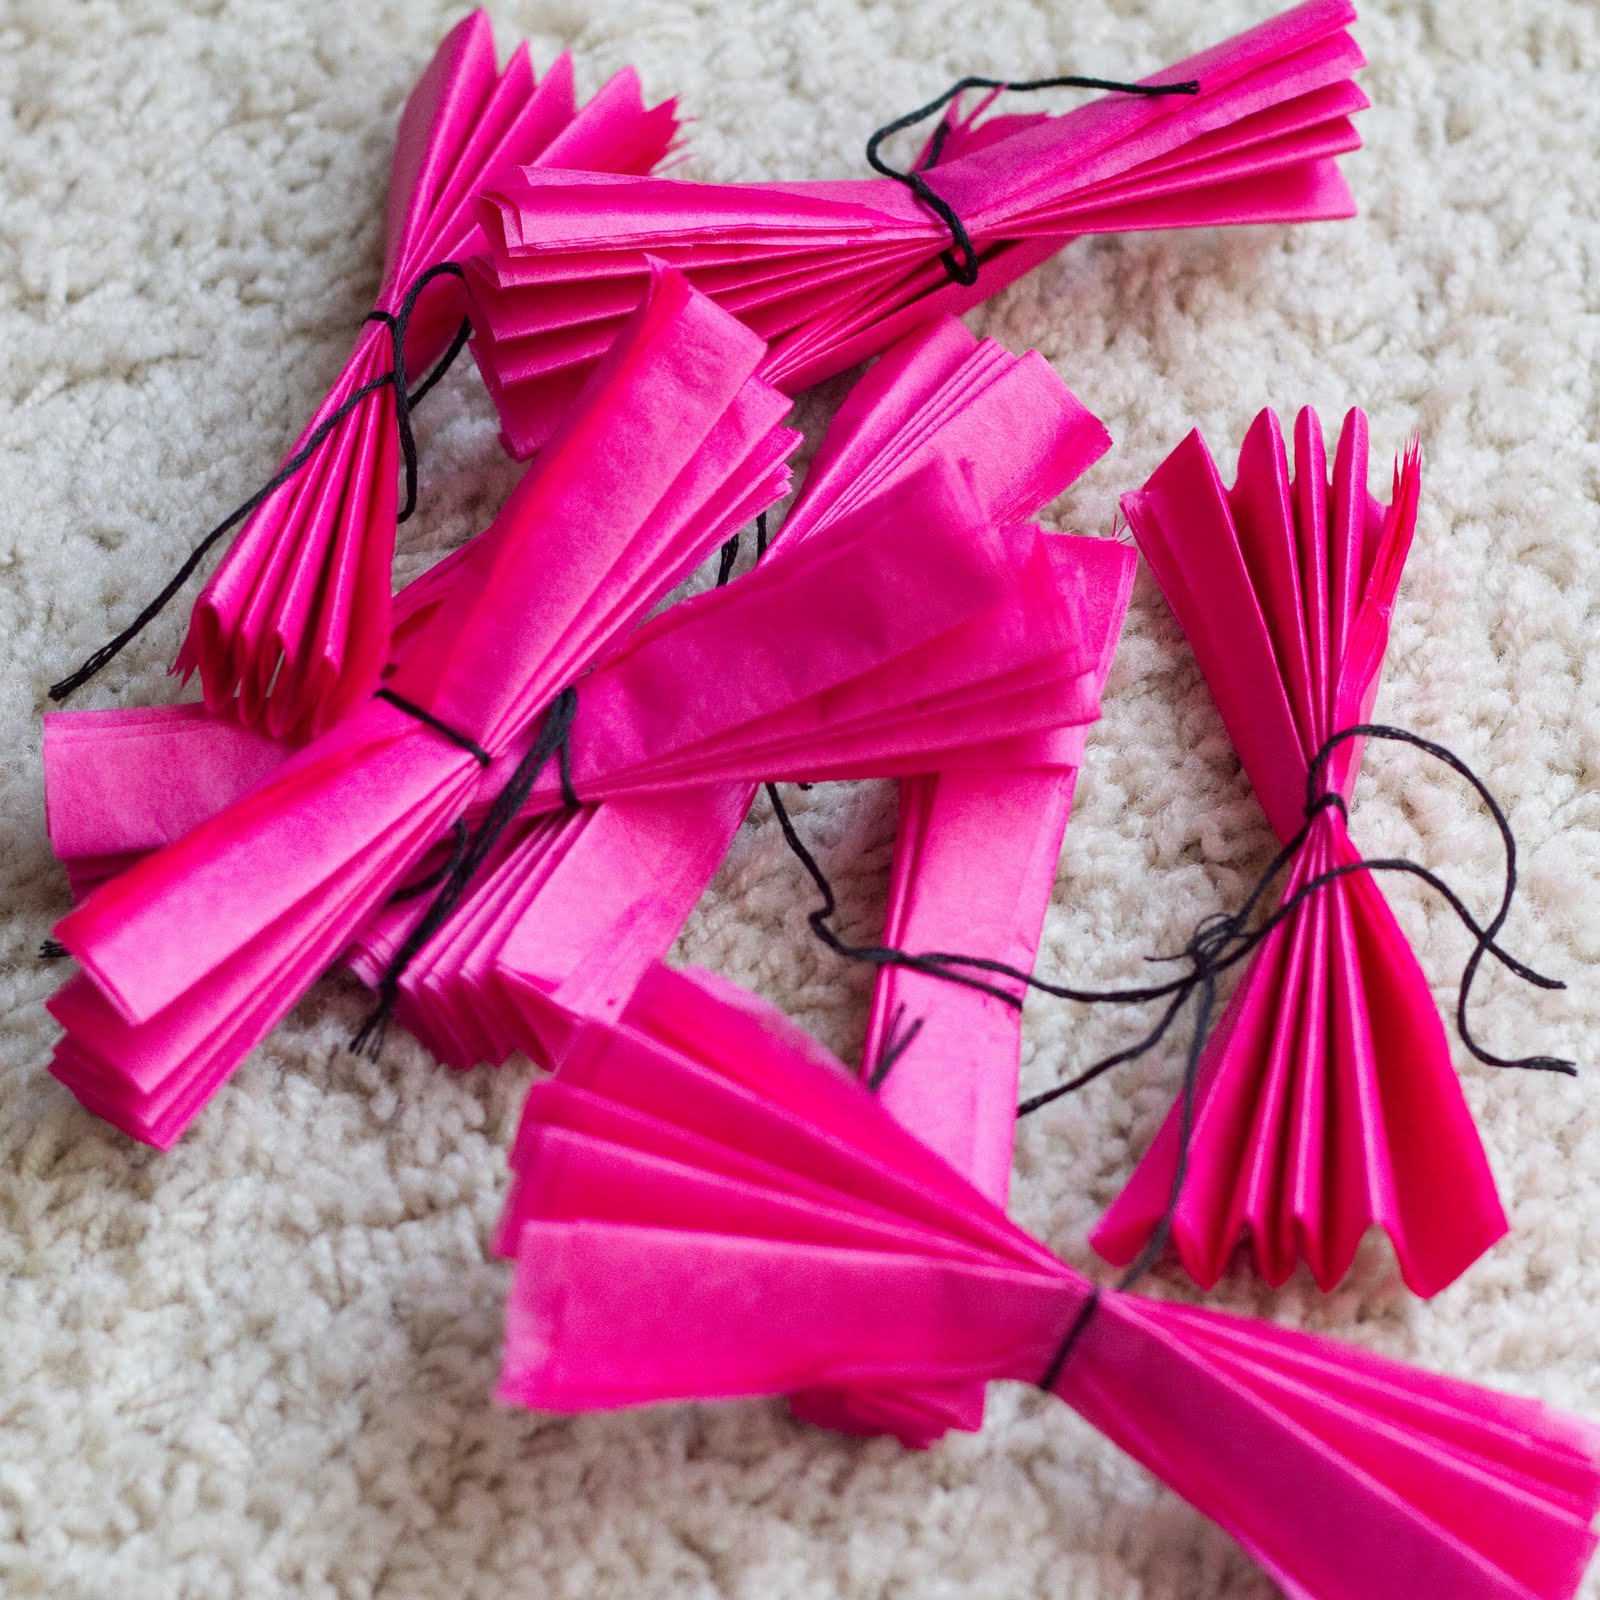
9. Tie folded stack with floss at the center point. You do not need to “scrunch it” tightly, just secure.
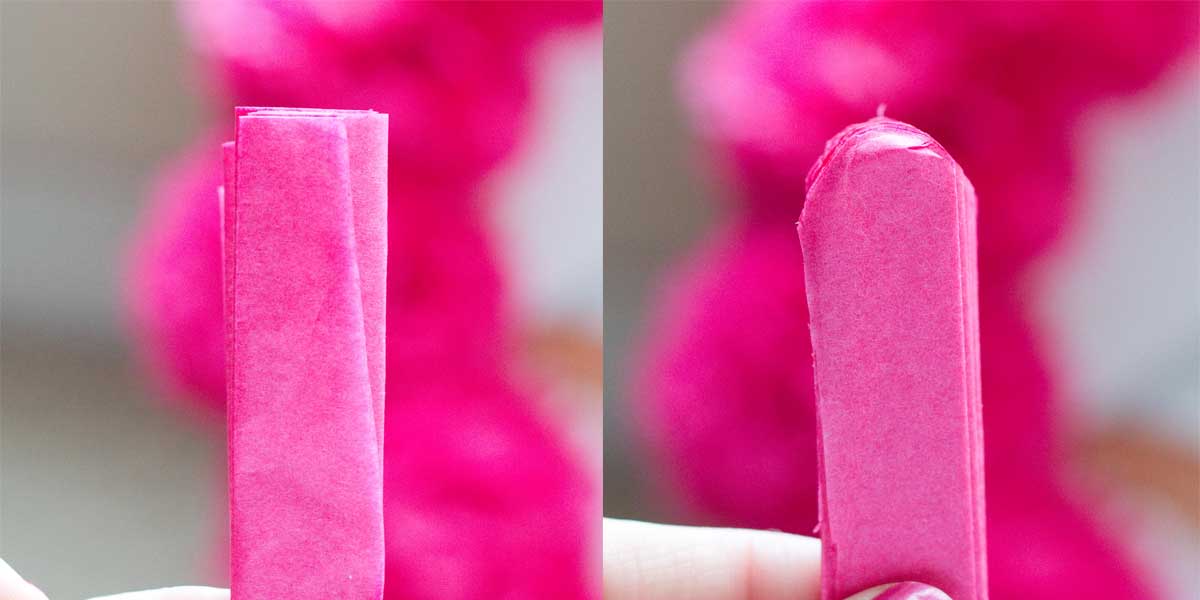
10. Using sharp scissors trim off each end into a rounded shape.
11. Repeat Steps 4-10 with the second package of tissue paper.
12. Before you start creating your flowers make sure you tied all of them in the center. Cut all of your long ties off.

If you don’t have it tied in the center it results in wonky flowers like this…
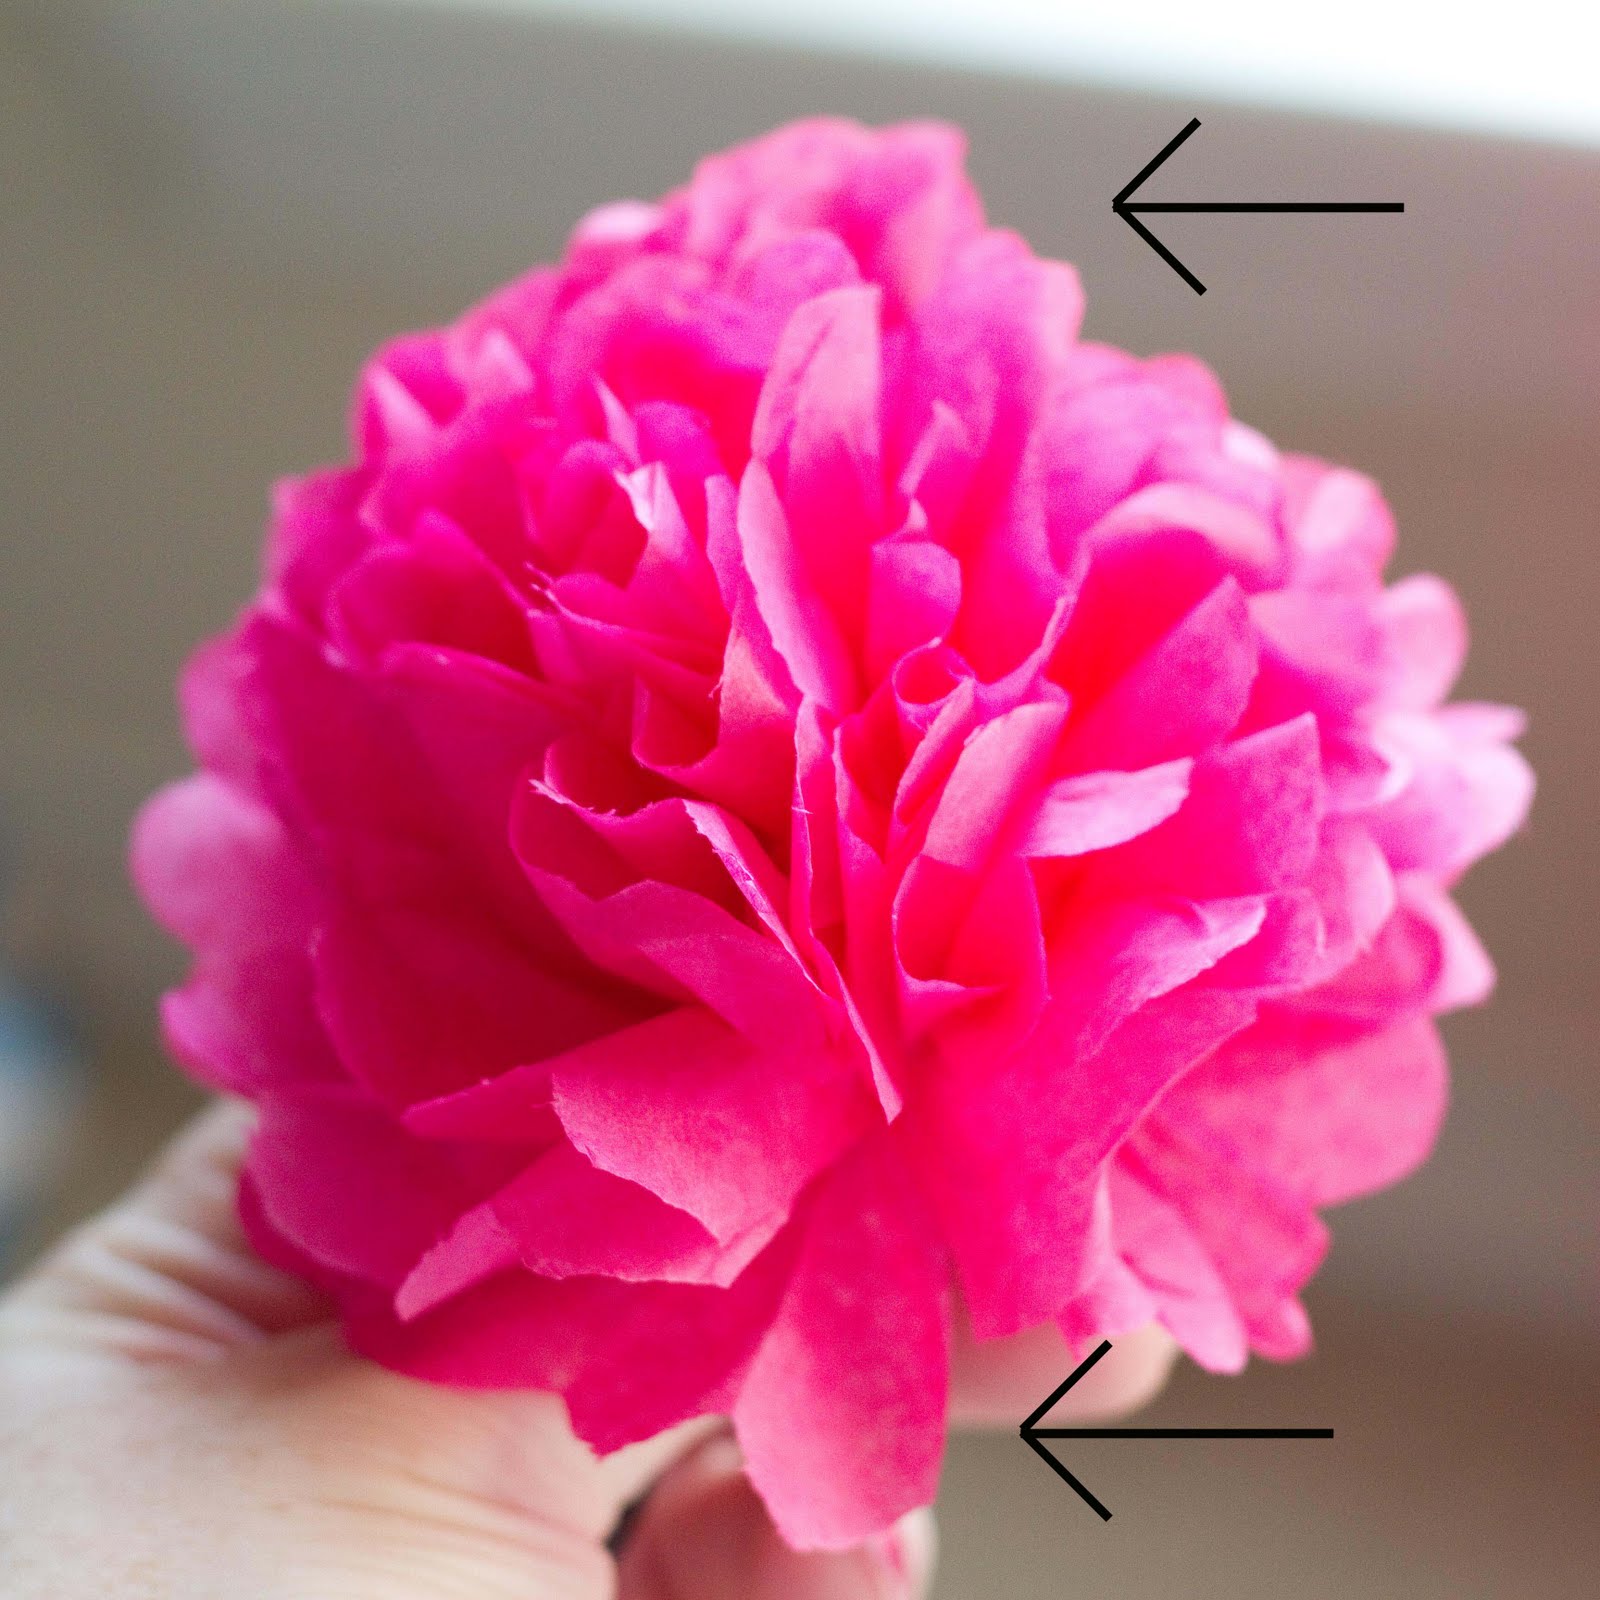
13. Start seperating each layer by pulling gently towards the center.

14. Once you have created all of your flowers start to glue them to the wreath, starting with the outside and working your way in.

Then hopefully you end up with an adorable wreath like this!

I would love to see what you come up with so make sure you leave a comment with a link to your beautiful creation!
{*Since posting this I have gotten quite a few emails asking out to make the pom poms that you can hang…I have seen them everywhere and a lot of them are made wrong (in my opinion). Even the Martha Stewart tutorial (above) doesn’t even mention this step. Follow all of the steps of creating the flower/pom pom with one exception. When you tie the folded stack together, make your string long enough so you can hang it. Now, to make it the right way you will want to put two pom poms back to back and tape them on the inside with double sided tape. This will give you a more full look and not a wimpy pom pom!*}
Partying it up here…

