I am not exactly sure that I can classify this as a tutorial, but more of how I did it kind of post.
This was one of those ideas I got out of no where as I was wrangling my kiddos at the grocery store.
During the summer, grocery stores usually pull out their display for bulk salt water taffy. It’s one of the things I look forward to every year! It reminds me of being a little kid and traveling to Utah every summer to play with cousins and family. I think it really should be the official candy of summer!
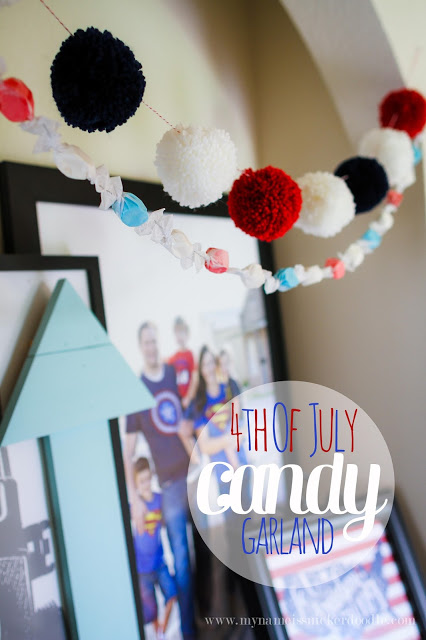
One day last week I found myself by the display and my kids were begging me for some. They each got to pick out a few and then it hit me. How cute would it be as decoration!? My kids totally gave me the weirdest look when I told them all the taffy I was getting was to make a garland. Ha!
I was so excited to get home to make it. I totally had to do it in private because my littles kept trying to snatch a piece or two!
I didn’t want to tie it together with string or ribbon because I didn’t really want it to look like a candy lei. That was just my preference, but feel free to do that if that’s the look you want! Some striped ribbon would be adorable.
My first instinct was to use my glue gun, but then I knew instantly that was a bad idea. The hot glue would just melt the wax paper.
Digging through my old scrapbooking stash of supplies I found glue dots. They are sticky clear dots that work perfect for crafts. I thought it would be perfect and it was sticking really well. Until about an hour later and it all fell apart.
Erg! My last resort was to use staples. I was apprehensive at first because, hello, I’m not a first grader. However, I was trying to be open minded and I was desperate for this to work.
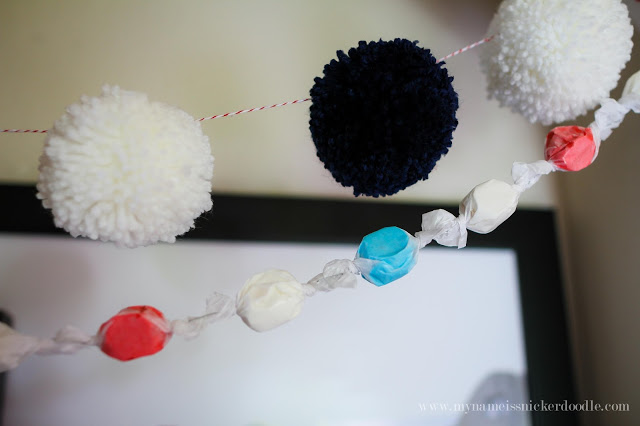
Guess what! It worked just fine and held it together fabulously! And with the folds of the wax paper ends, you can’t even really tell the staple is there.
I just placed all of my taffies out in the order I wanted them, overlapped the ends of two wrappers over each other and it was just enough room to staple it with a standard stapler. It could not be easier!!!
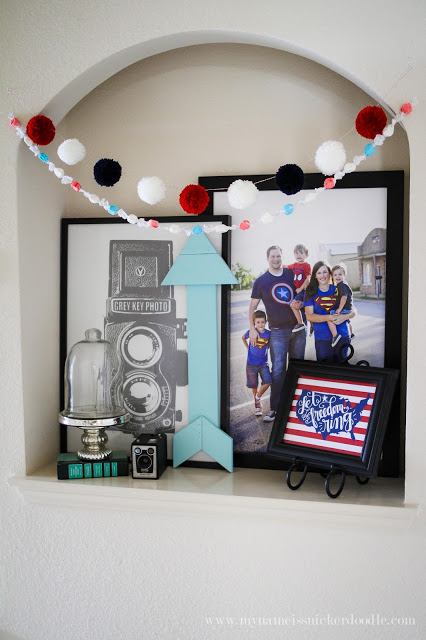
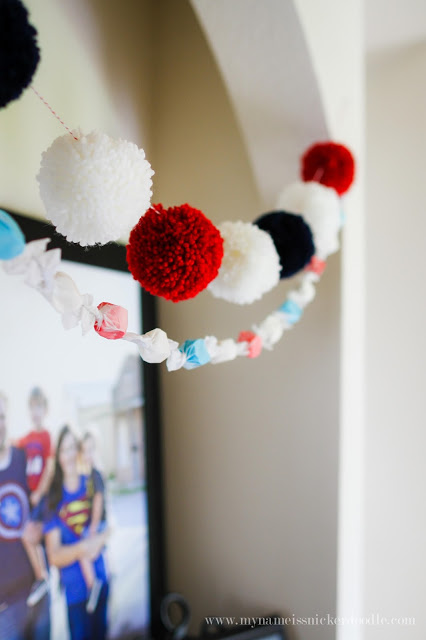
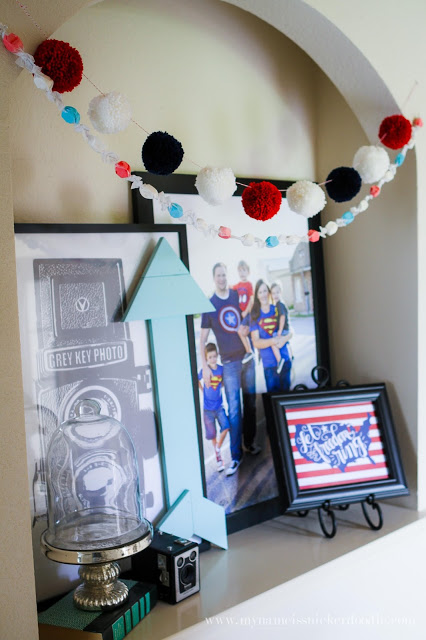
I pinned it up over my little cove that I love so much! I added my Freedom Pom Pom garland (shop opening soon!) above it and then printed off the adorable print from Dawn Nicole Designs. It could probably use a few more things, but I like to add a few things here and there over time.
This post is linked up at – The Creative Exchange,
