Kitchen Makeovers are so much fun and I’m so excited to finally share ours with you!
 The time has finally come for me to share our little kitchen makeover! Actually I should have shared it months ago, but life happens, right?! When I featured a little sneak peak on my Instagram account at the end of last year, you all flipped over the results! And to be honest, when my husband and I finished it we sat and stared at it for a long time because it’s just so beautiful!
We have a cozy little kitchen with the dinning room right next to it. This isn’t our house so we are very limited on what changes we can make. Don’t get me started on the floor! When we first moved in the main dinning wall was a hideous burnt orange color. We quickly got the permission to paint it a neutral color so we chose a cool grey. Actually the very first picture I shared on Instagram was a side by side of the before and after.
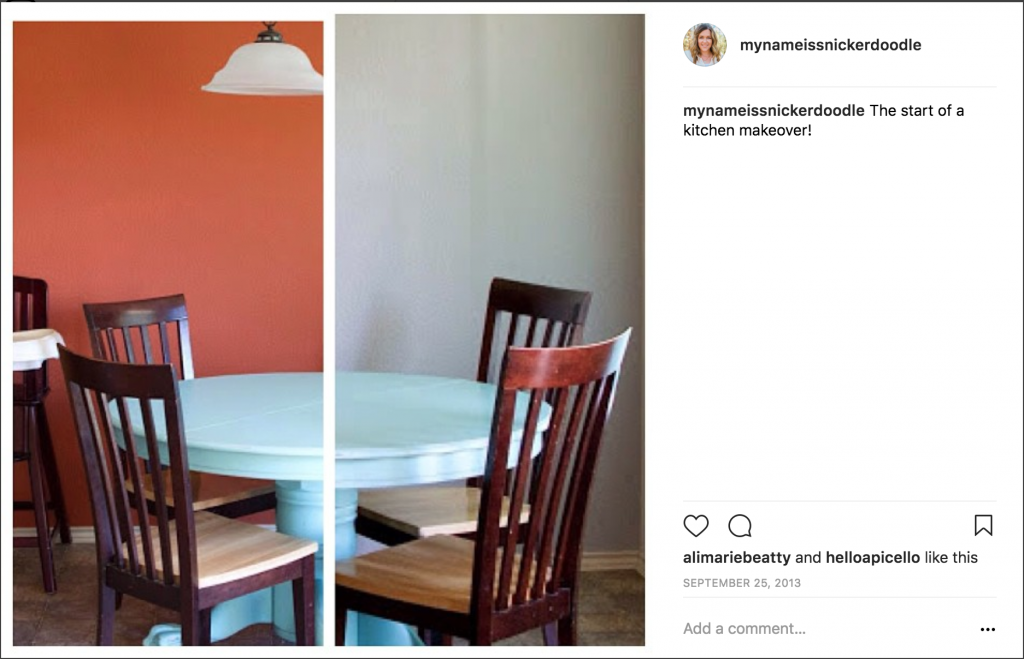
Such a huge difference color can make! We had recently bought and had refinished a round table, but couldn’t decide on chairs we loved so we used our old ones. Nothing was matching, but we just couldn’t make a decision.
Over the next few years we just weren’t happy with the grey we had picked out. Depending on the time of day, the wall looked blue and clashed with the aqua blue of our table. At the same time we were tired of our aqua table (remember when that color was everywhere!!) and knew we wanted to paint it white.
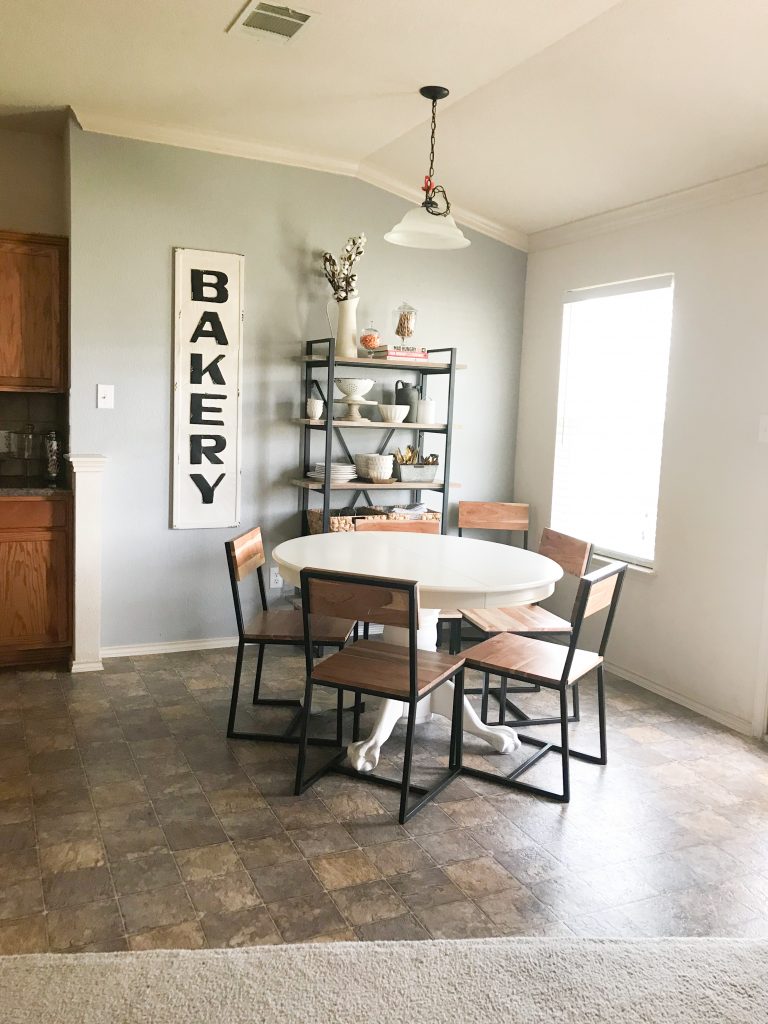
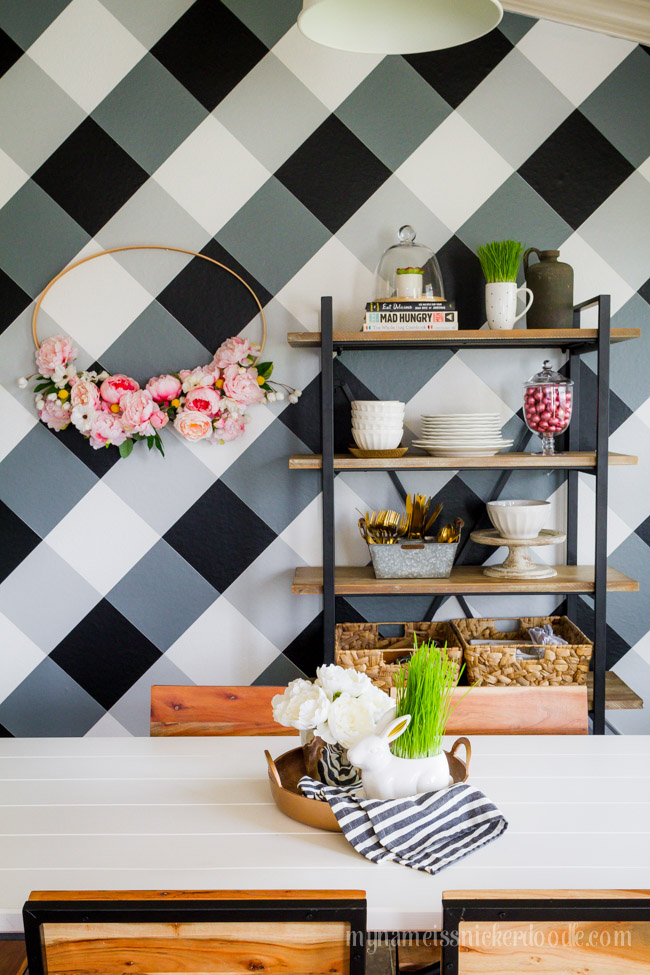
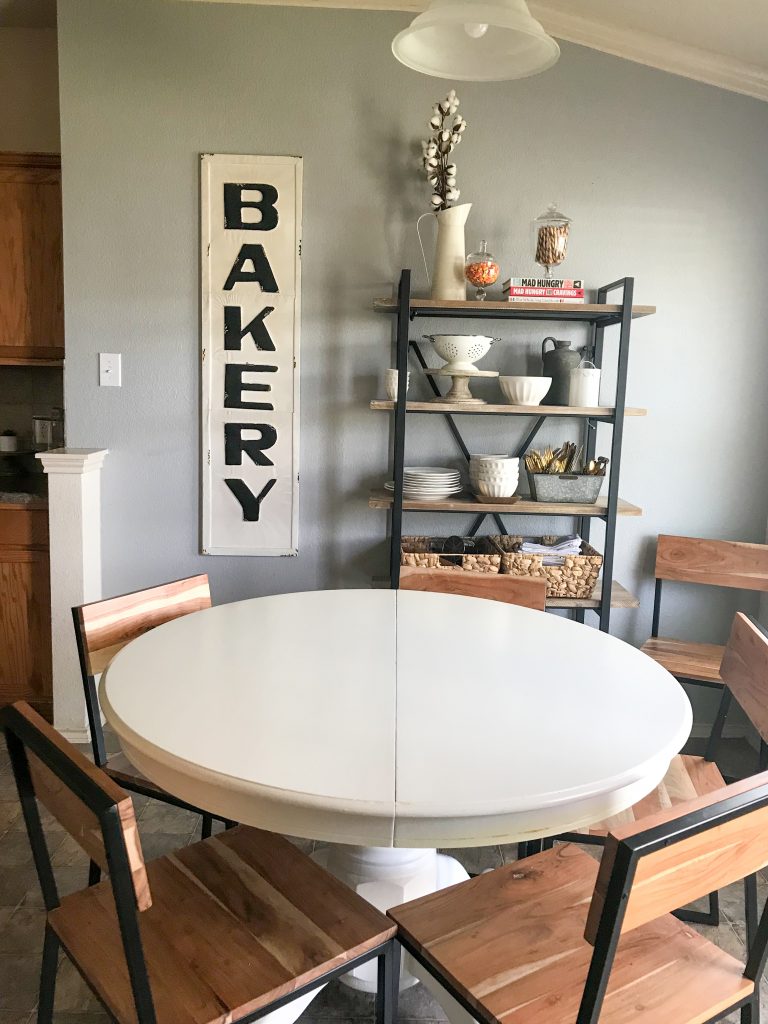
We found chairs that we loved, a new open shelf and some fresh decor to change things up a bit. Fast forward a few months and our family wasn’t fitting around the table with ease anymore (boys grow at a rapid rate!) and it was becoming more difficult to have company over for dinner. On top of it, we still weren’t happy with the grey.
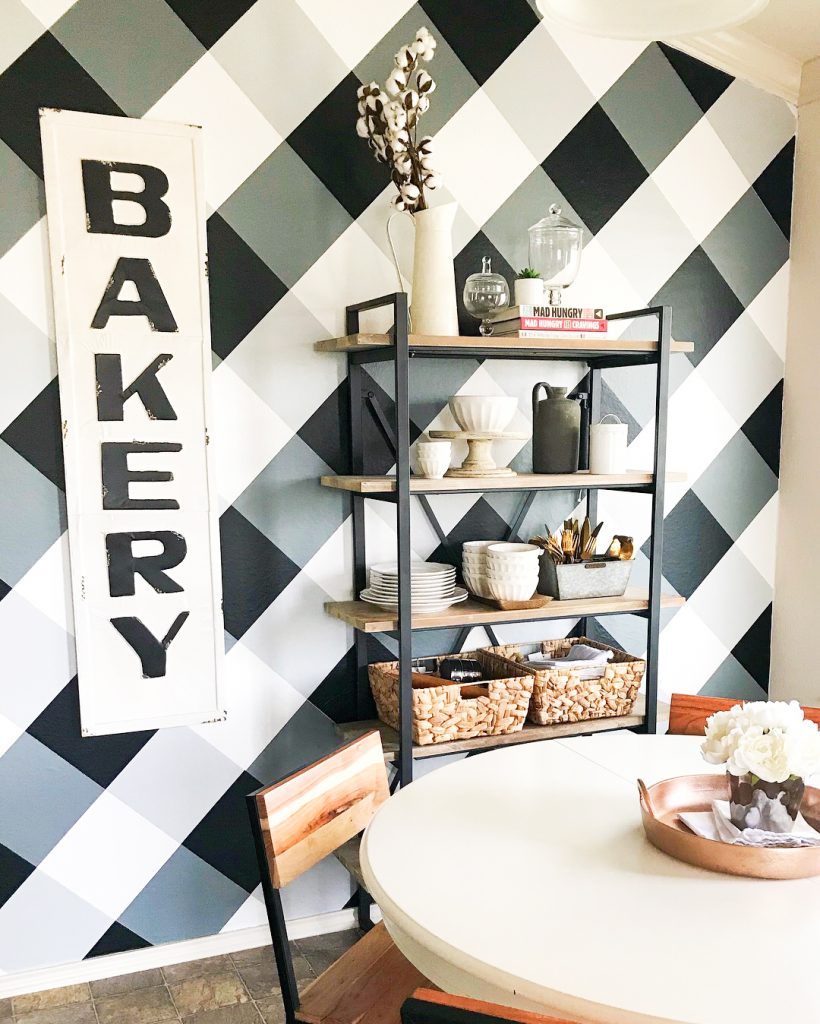
My husband and I thought and thought of what we could do with the wall. Our top choice was to paint it a dark navy blue. We both agreed and planned on painting it that weekend. We really wanted it to be a statement wall, but settled on just painting it a solid color. It was the very next day that I saw a Live Instagram from the Classy Clutter girls show a class how they transformed their dinning room wall into a buffalo check masterpiece! I showed Ian and he really liked it as well.
The best thing about this entire project is that we can remove it at anytime and not have to paint over it. It’s not a special painting technique where you spend hours measuring and taping off squares. It’s not wallpaper that you have to hassle with large sheets and have 7 hands to put it up. IT’s VINYL!!!!!
Here is what we did!
Measuring the wall is super important. Ian used Procreate on his iPad and made a little drawing to scale of our wall. Because of the pitch of the back of our house, the wall angles down in one corner so we took that into account as well. It was then when we decided what size of squares we wanted to do.
At first we thought 4 inches is what we wanted, but it look too busy on the wall when he sketched it out in Procreate. We increased it to 6 inches and loved the look. Plus it fit better with the measurements of our wall.
We colored in each of the squares to give the effect of a buffalo check then decided how many squares of each color we needed to order. Since we knew we were going to paint the wall white, we only needed two different shades of gray (light and dark) and black. Our entire order came from Cotton and Lumber so contact them for your custom order. They will be able to help you with any questions you might have.
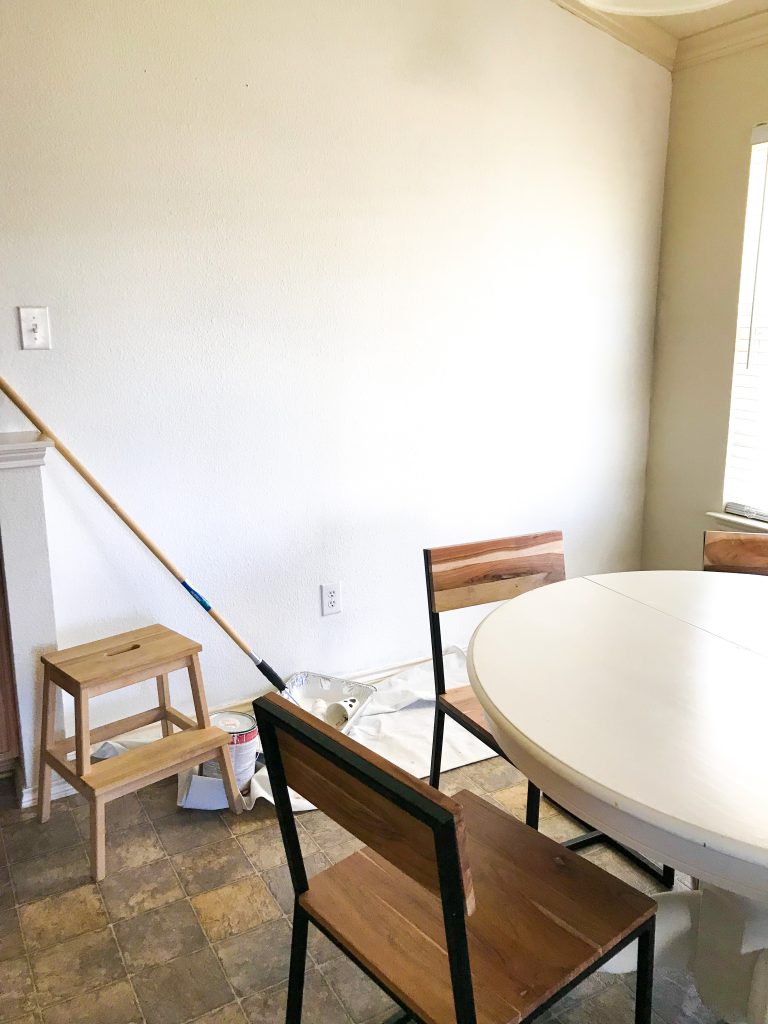
We removed everything from wall, wiped it down and painted it with Behr Polar Bear White Satin Finish. It took 3 coats and didn’t take terribly long to do. We let it dry for 24 hours before we added the vinyl.
Since we had already sketched everything out, we knew exactly where each square should go and in what order. If you don’t have Procreate, a sheet of grid paper works just as well! The first couple of squares we used a level to make sure we were squaring things up properly.
Check out this time lapse video we captured!
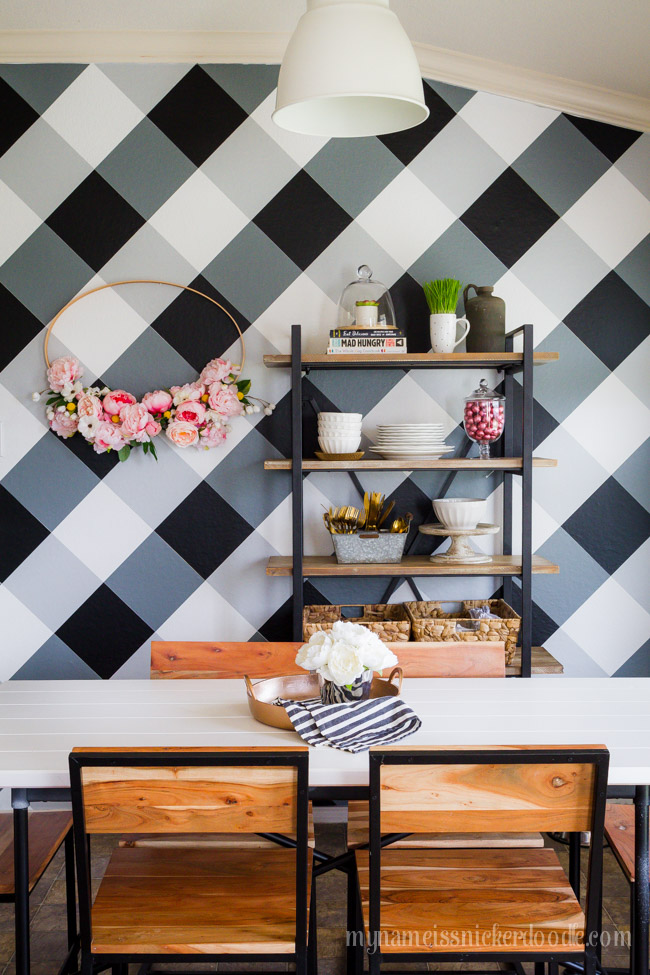
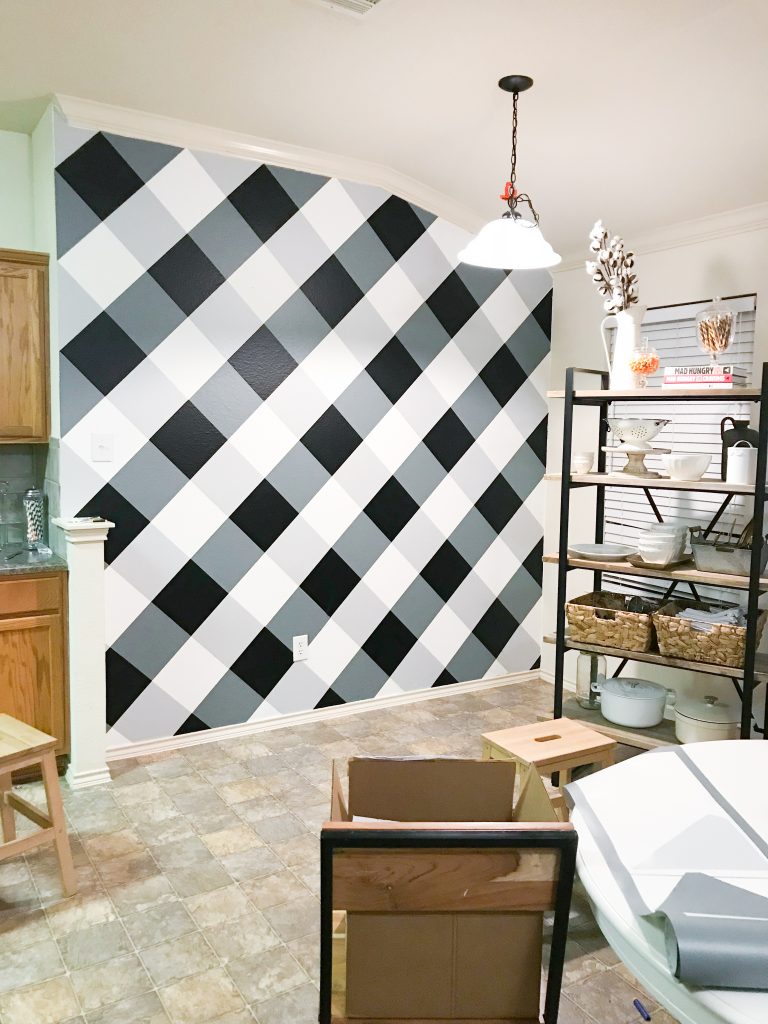
It took us a total of 2 1/2 hours to apply from start to finish! We do have orange textured walls and the vinyl stuck beautifully to it. If you aren’t familiar with vinyl, its like a sticker that you can remove with no residue, but sticks very well.
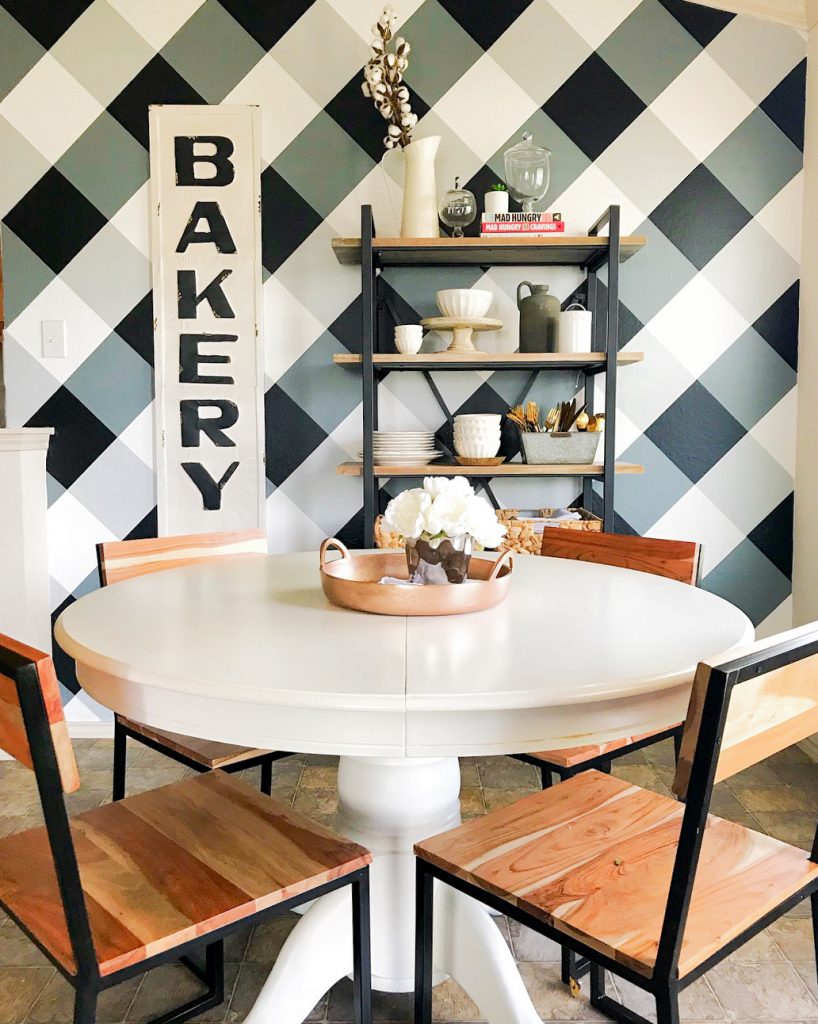
We are just in love with the entire thing! Our little round table no longer fit our growing family so we ended up buying an inexpensive one from Ikea and painting the top of it the same white as our wall. It’s not our dream kitchen set, but in due time!