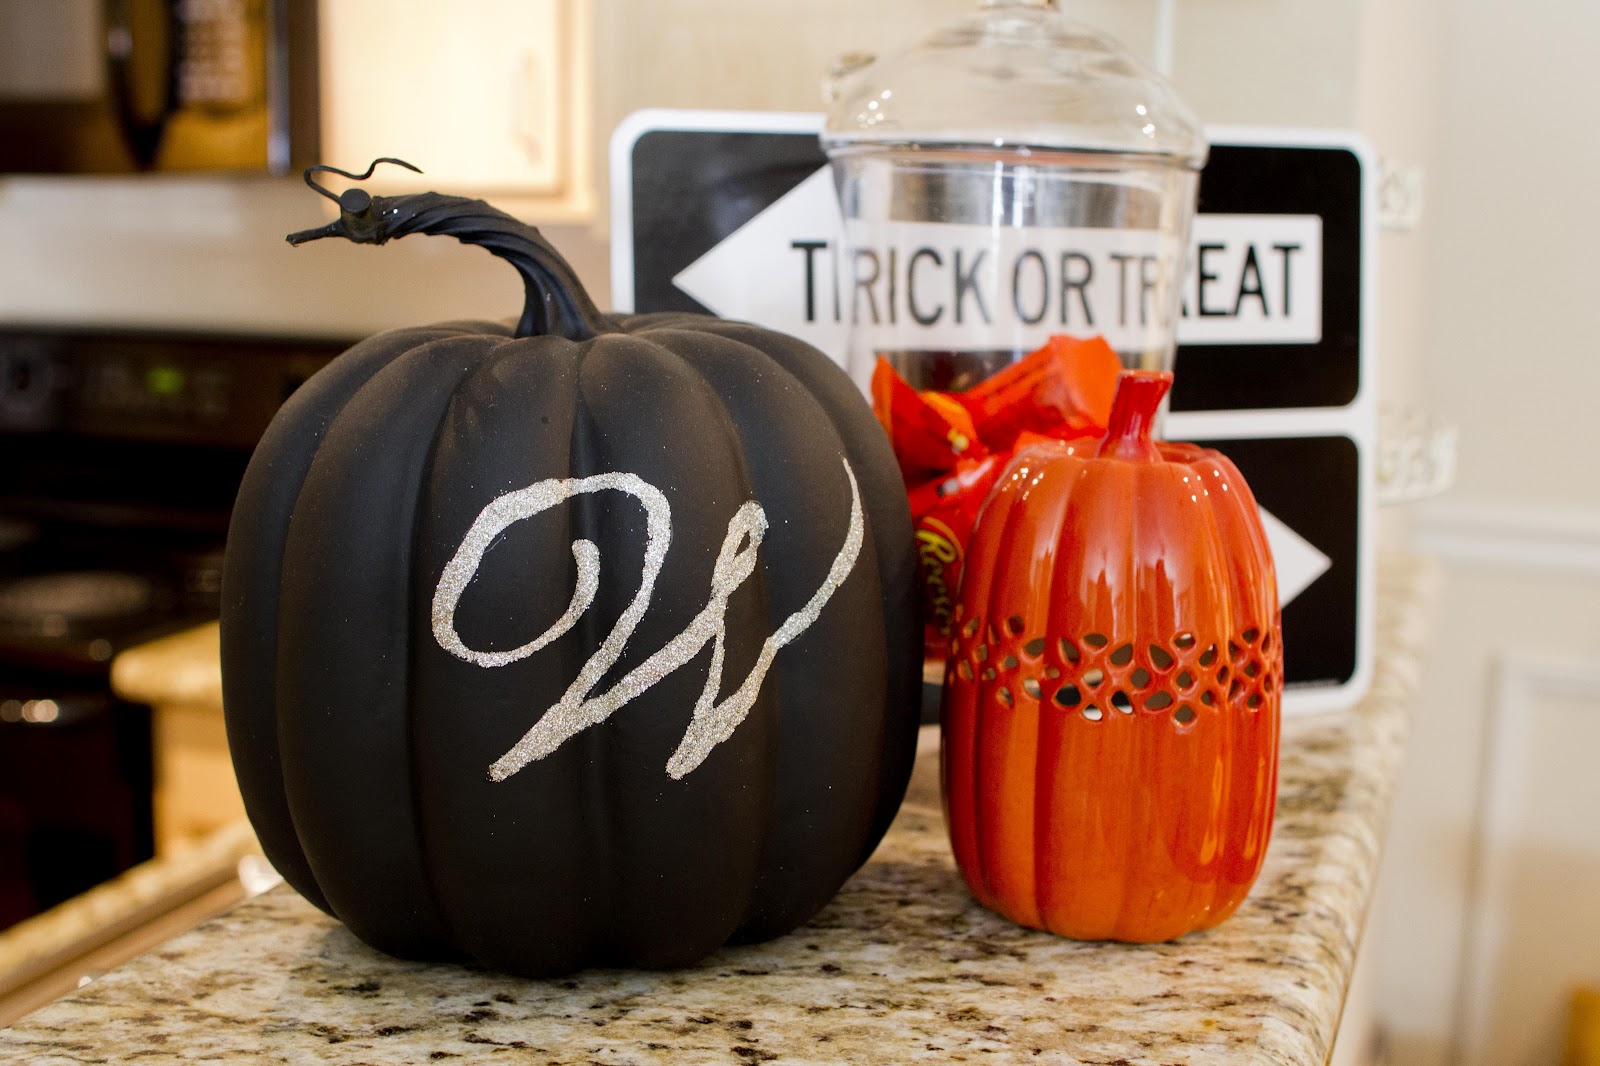
I was going to originally show you how to glitter a fake pumpkin, but the moment I had that thought, I begin to see a million and one tutorials on the exact same thing! So, when the idea of a glittered monogrammed pumpkin came to me as I was falling asleep one night (that’s usually when the best ideas pop into my head) I got on it the next morning.
I have a disclaimer, though.
I made so many mistakes along the way.
I had only bought one pumpkin (because I only wanted one) and with what I was working with, I couldn’t exactly erase anything and start over. I am pleased with the end result, but I will help you prevent making the same mistakes along the way!
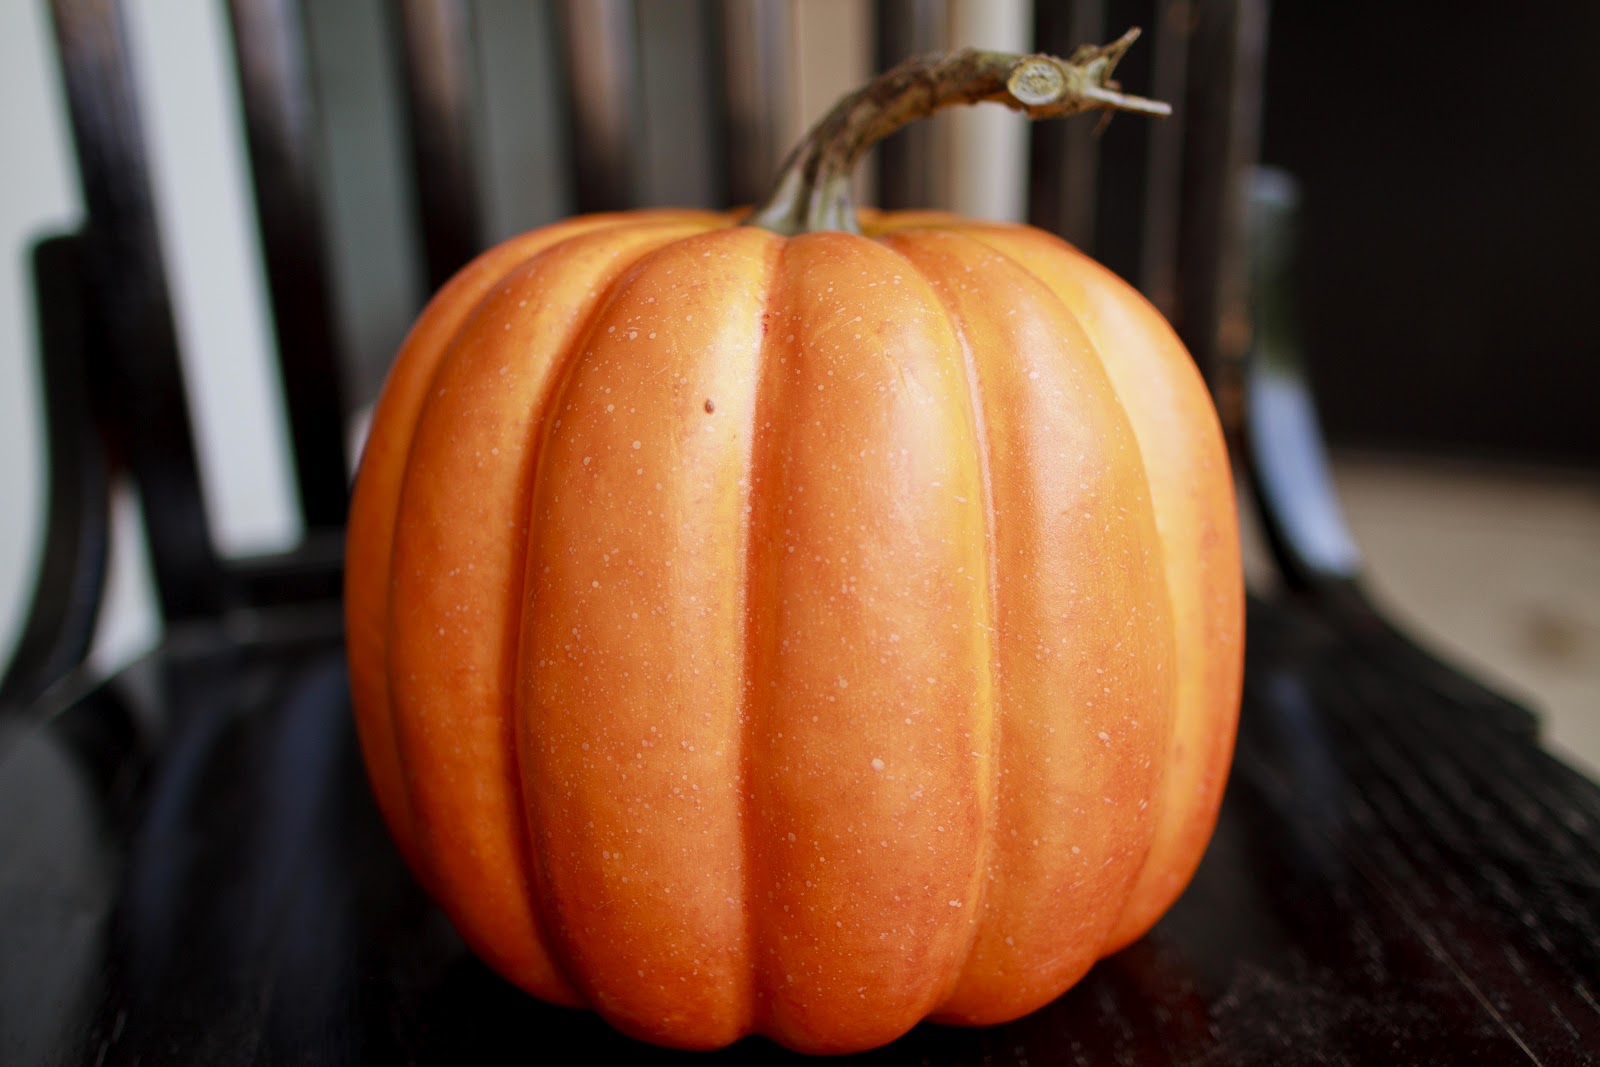
Get a fake foam pumpkin. I got mine from Walmart.
{Here’s Mistake #1. I should have given it a light sanding. Just enough to rough it up so the spray pain will adhere. You don’t want to sand all of the coating off because then you be left with a shapeless foamy pumpkin.}

Mistake #2 – Make sure you put push pin onto the bottom of your pumkin where the holes will not be seen. This will allow you to prop it up so the painted bottom has room to dry. As you can see from the picture, I learned that after the first coat. Once your done with the entire thing, remove the push pins.

I used a flat paint because I liked the look of it in black. Feel free to use what ever color/finish you like.
Mistake #3 – Don’t expect to spray it once and be done. Give each coat (2-3) a light spray. Try not to get trigger happy and load it on. Your paint will get heavy and start to drip down your pumpkin as seen above. If that happens, gently wipe it away and give it another coat once it’s dried. If you don’t notice it until it has already dried, lightly sand the drip away and give it another coat or touch up.

Print off the desired monogram and cut it out with a craft knife. Lightly tape it to your pumpkin. Painters tape is ideal, but I didn’t have any. I used regular ol’ tape and just removed some of the tack by pressing each strip to my shirt a few times. The only mistake I made here was not making it large enough. But that was just my personal preference and didn’t really know that until I was done and have looked at it for a few days. But, whatever!

Use a pencil to lightly trace your letter. It get’s a little tricky because it’s not completely flat, but any mistakes you make, you can cover up with glitter. Remove the paper and tape.
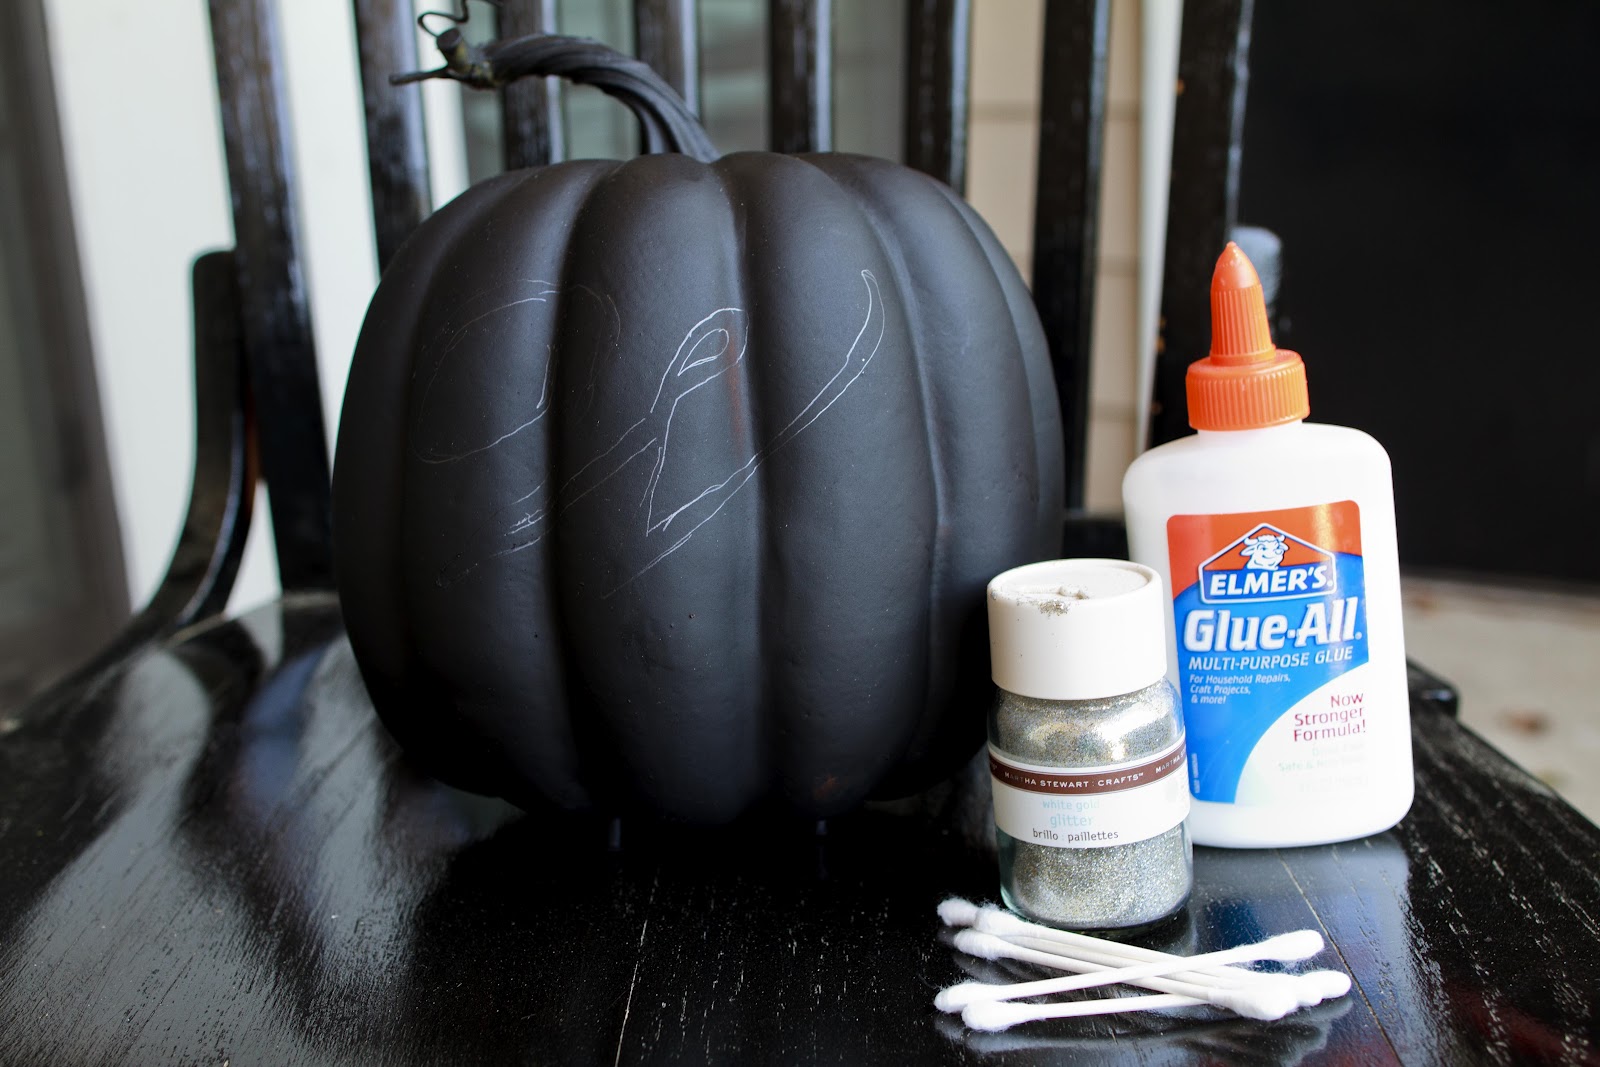
I just used Elmer’s glue because I couldn’t find my Modge Podge. I also used an old bottle of Martha Stewart’s ultra fine silver glitter I had from years ago. Mistake #4 – I didn’t have a small enough brush to pain the glue on. So I though Q-tips would work. Well, this did work, but not the greatest tool.
Glue and glitter in sections so your glue doesn’t dry up before you apply glitter. Use a thin layer of glue or else it will be too heavy and start to drip. Let it dry completely.
Mistake #5 – Not brushing off the excess glitter before taking this picture. I could take another, but…I don’t really want to! Another way of keeping it real (or lazy) around here!
Even with all my mistakes, I still love it. It’s a little whimsical/spooky with how jagged it turned out and I’m okay with it. It is Halloween after all!